The Challenge
As part of the course "Prototyping for Experience Design", we got the challenge of designing "something" for decluttering front doors.
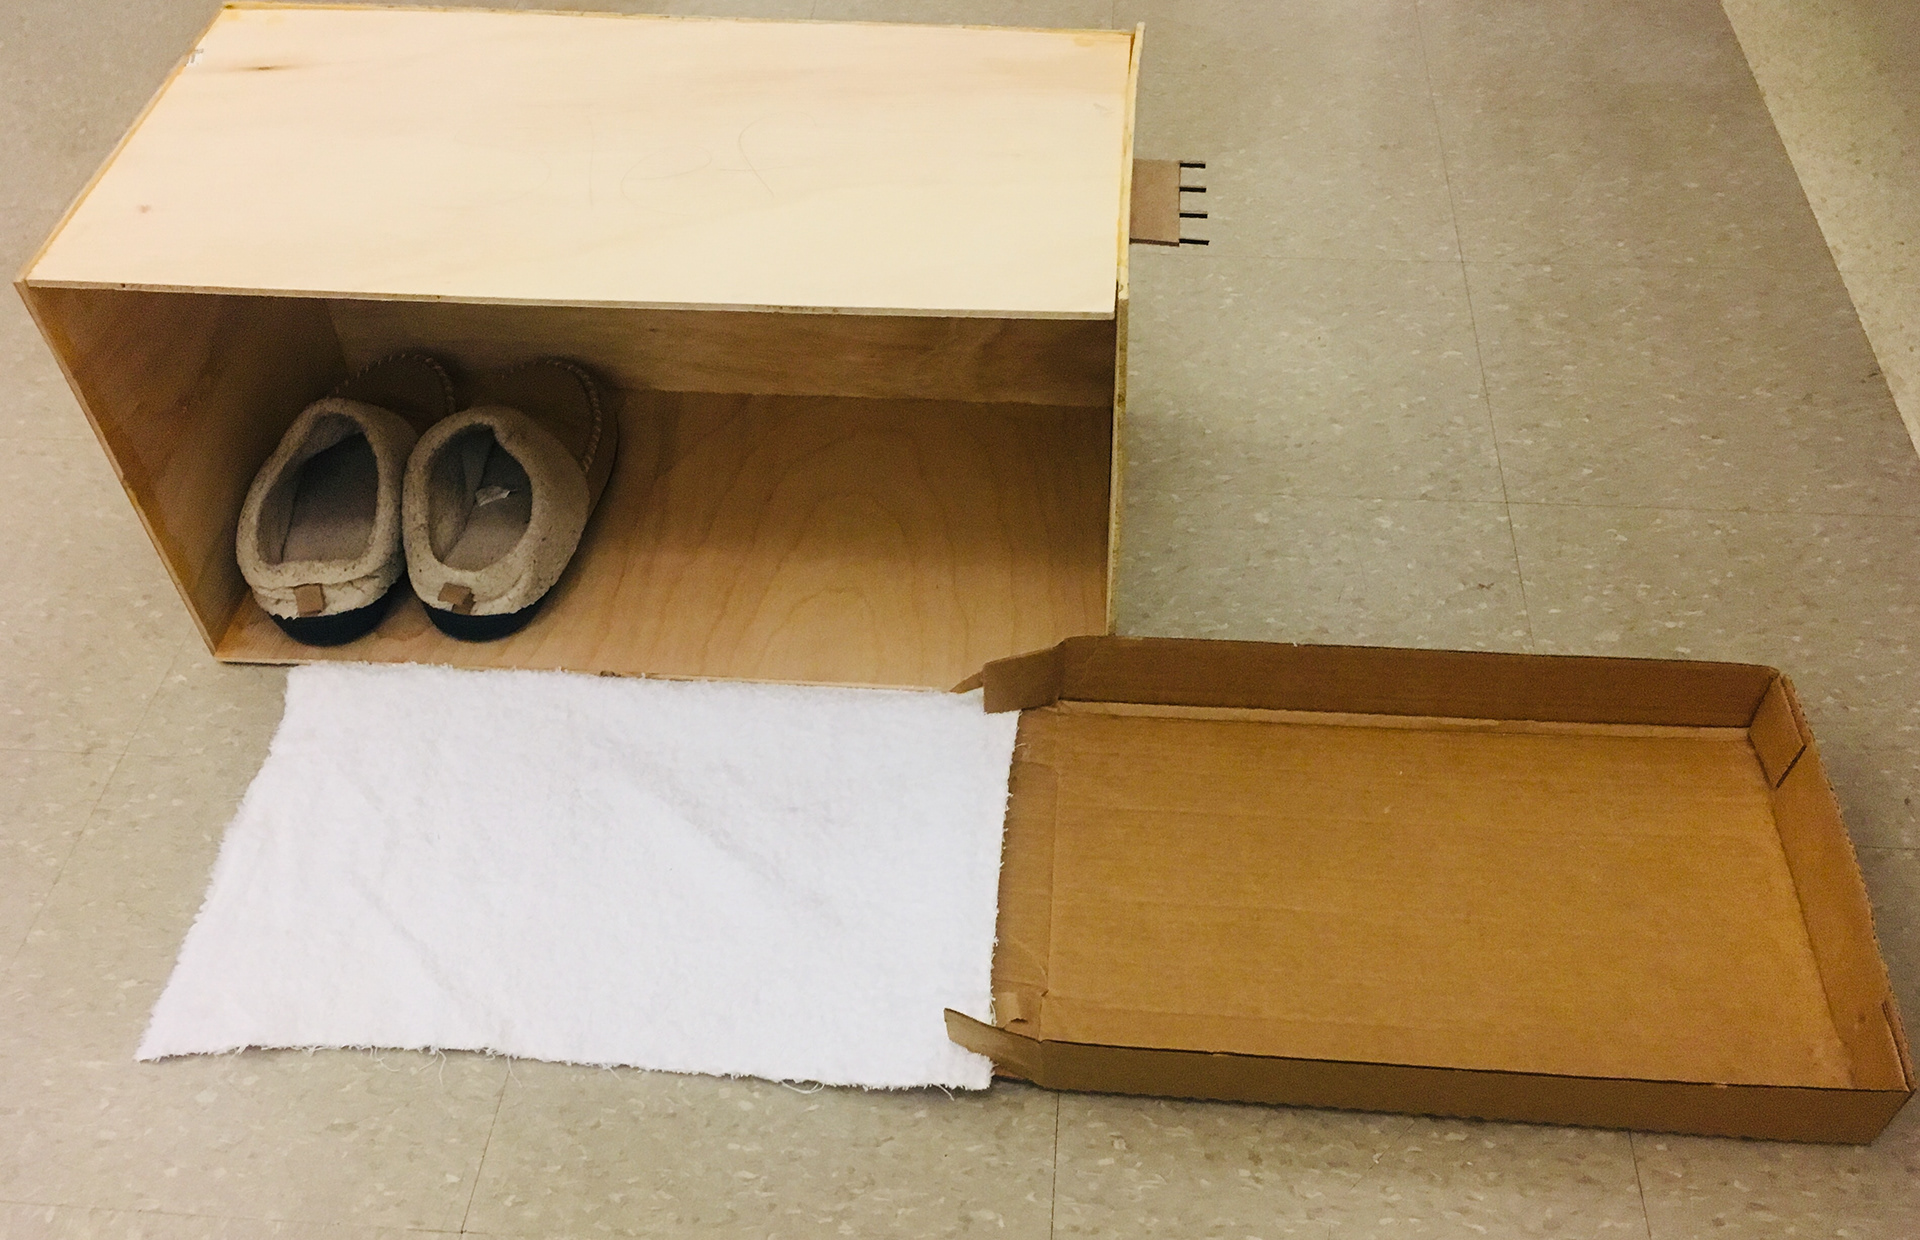
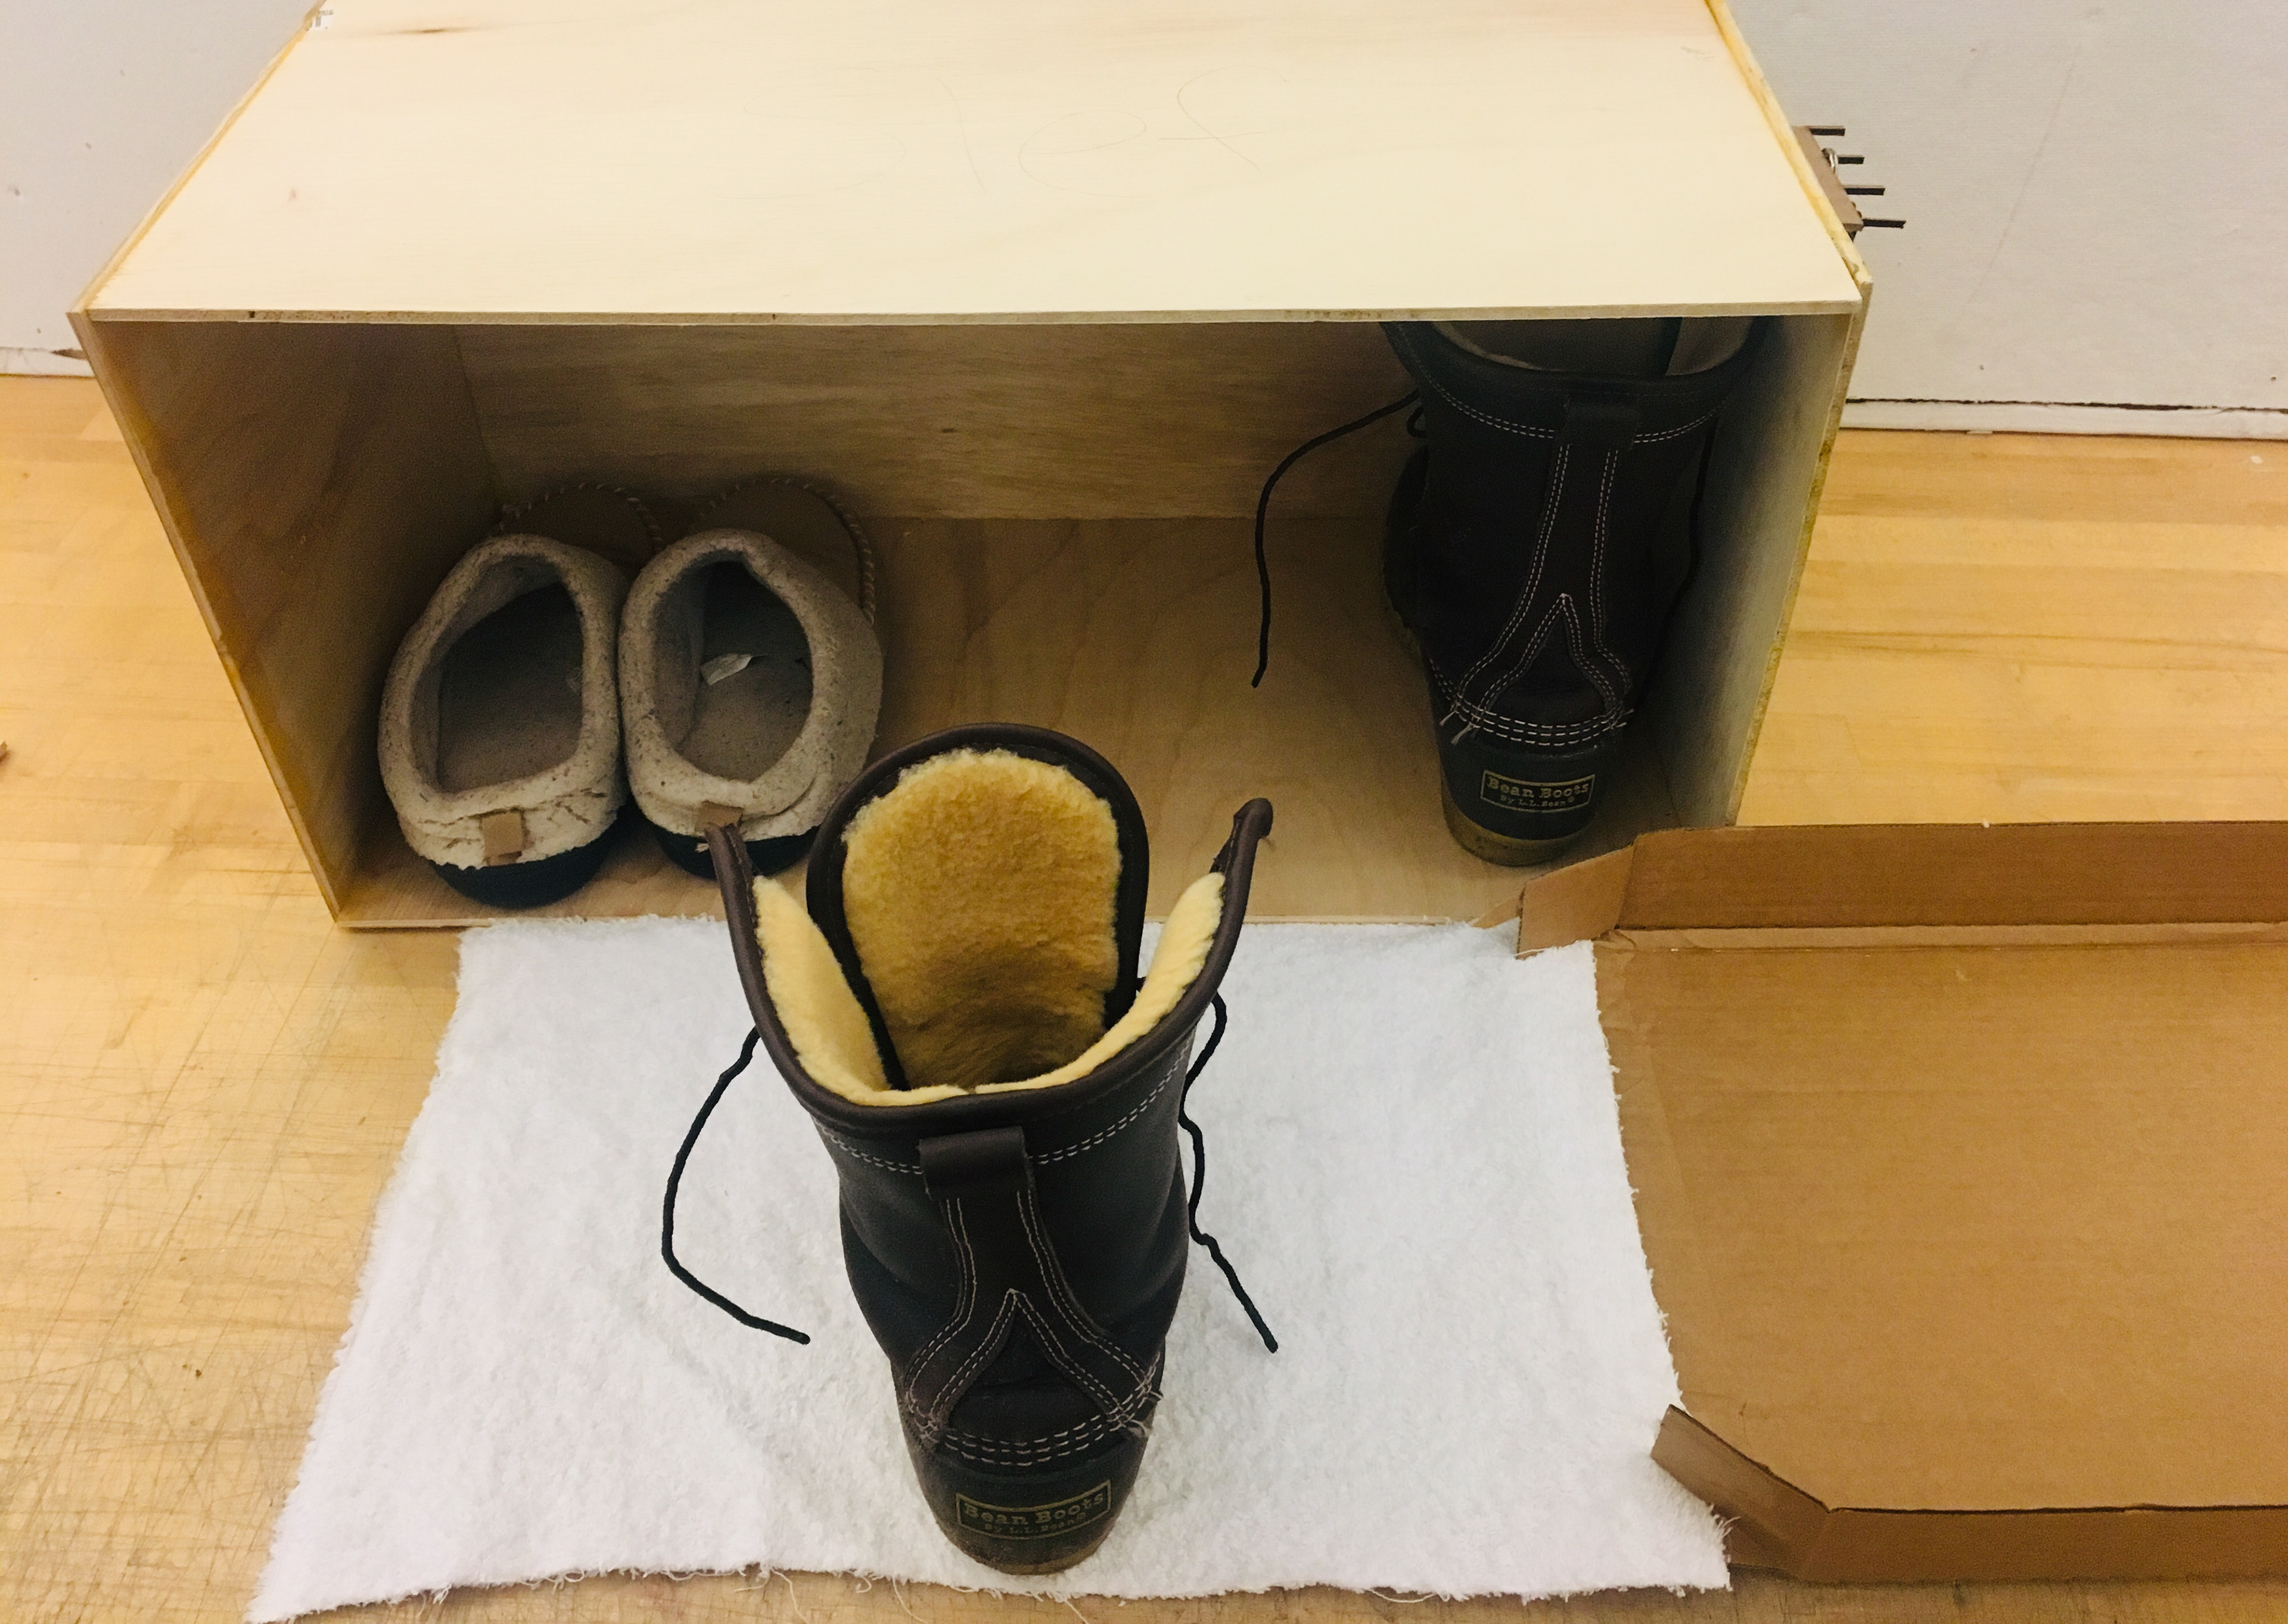
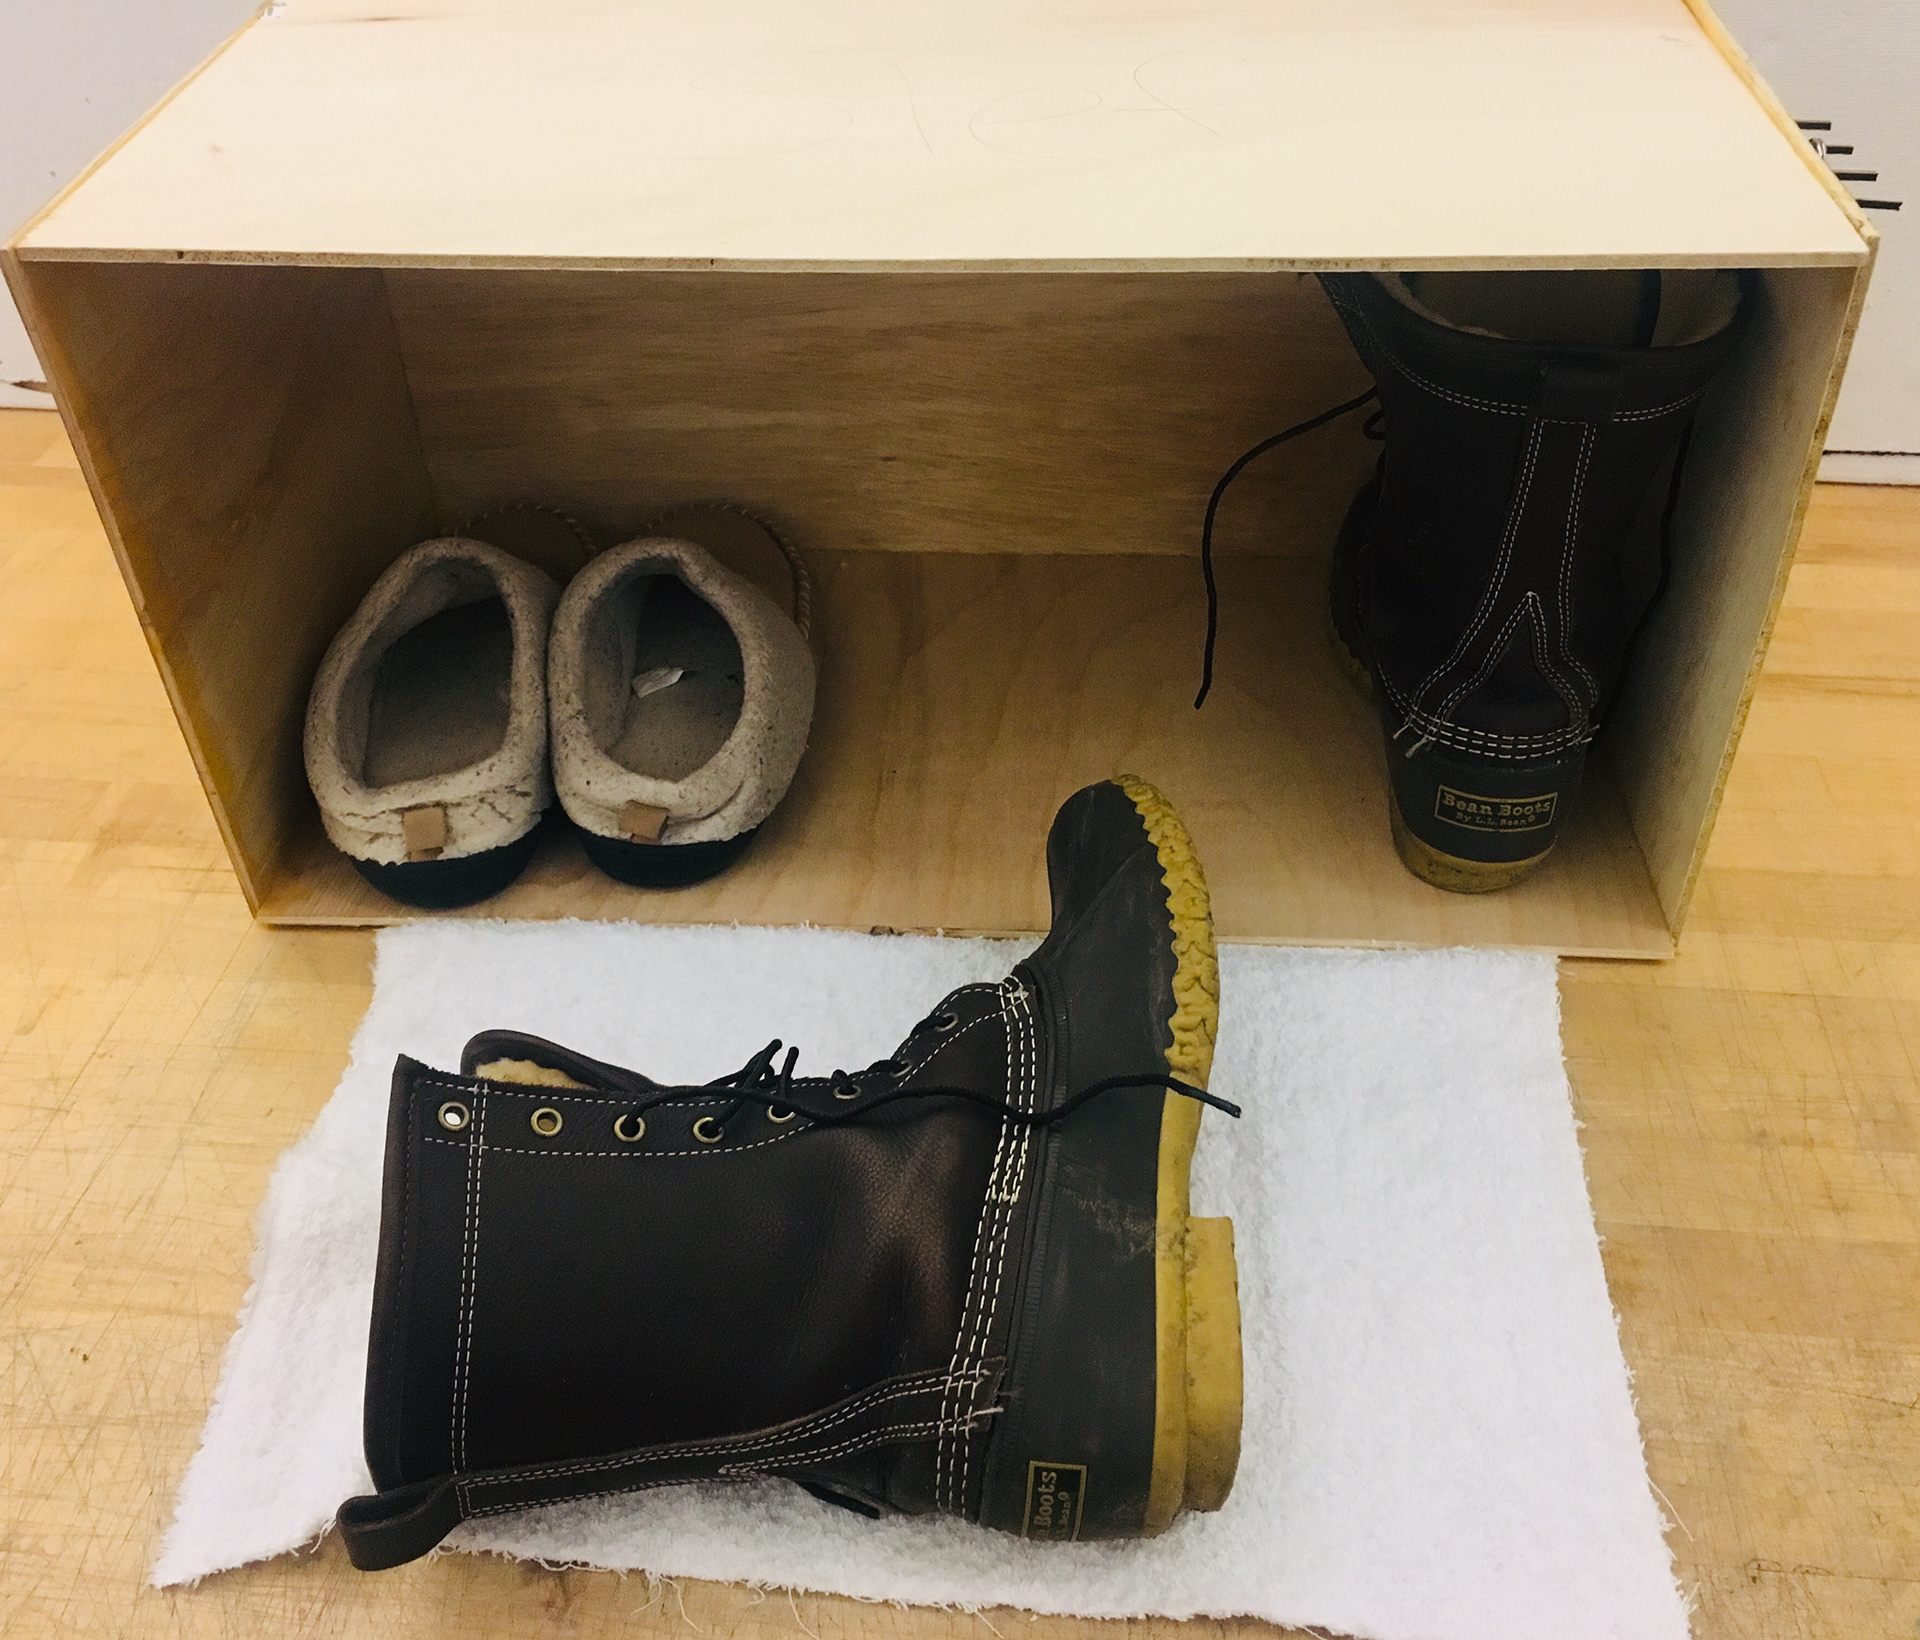
I was trying to create a box that will help declutter a front door by being able to place boots there. For this quick prototyping session I analyzed my experience with the issue. As it is right now, I realized that when it rains or snows, when I come into the house, I wet the floor and then I have to be careful to not wet my socks before changing shoes (basically to my sleepers) Additionally, I realized that my socks and feet were normally either wet or cold. So I decided to prototype a “heating box” that would allow me to come into the house and place my wet boots there, while having my sleepers warm and ready to use.
The Process
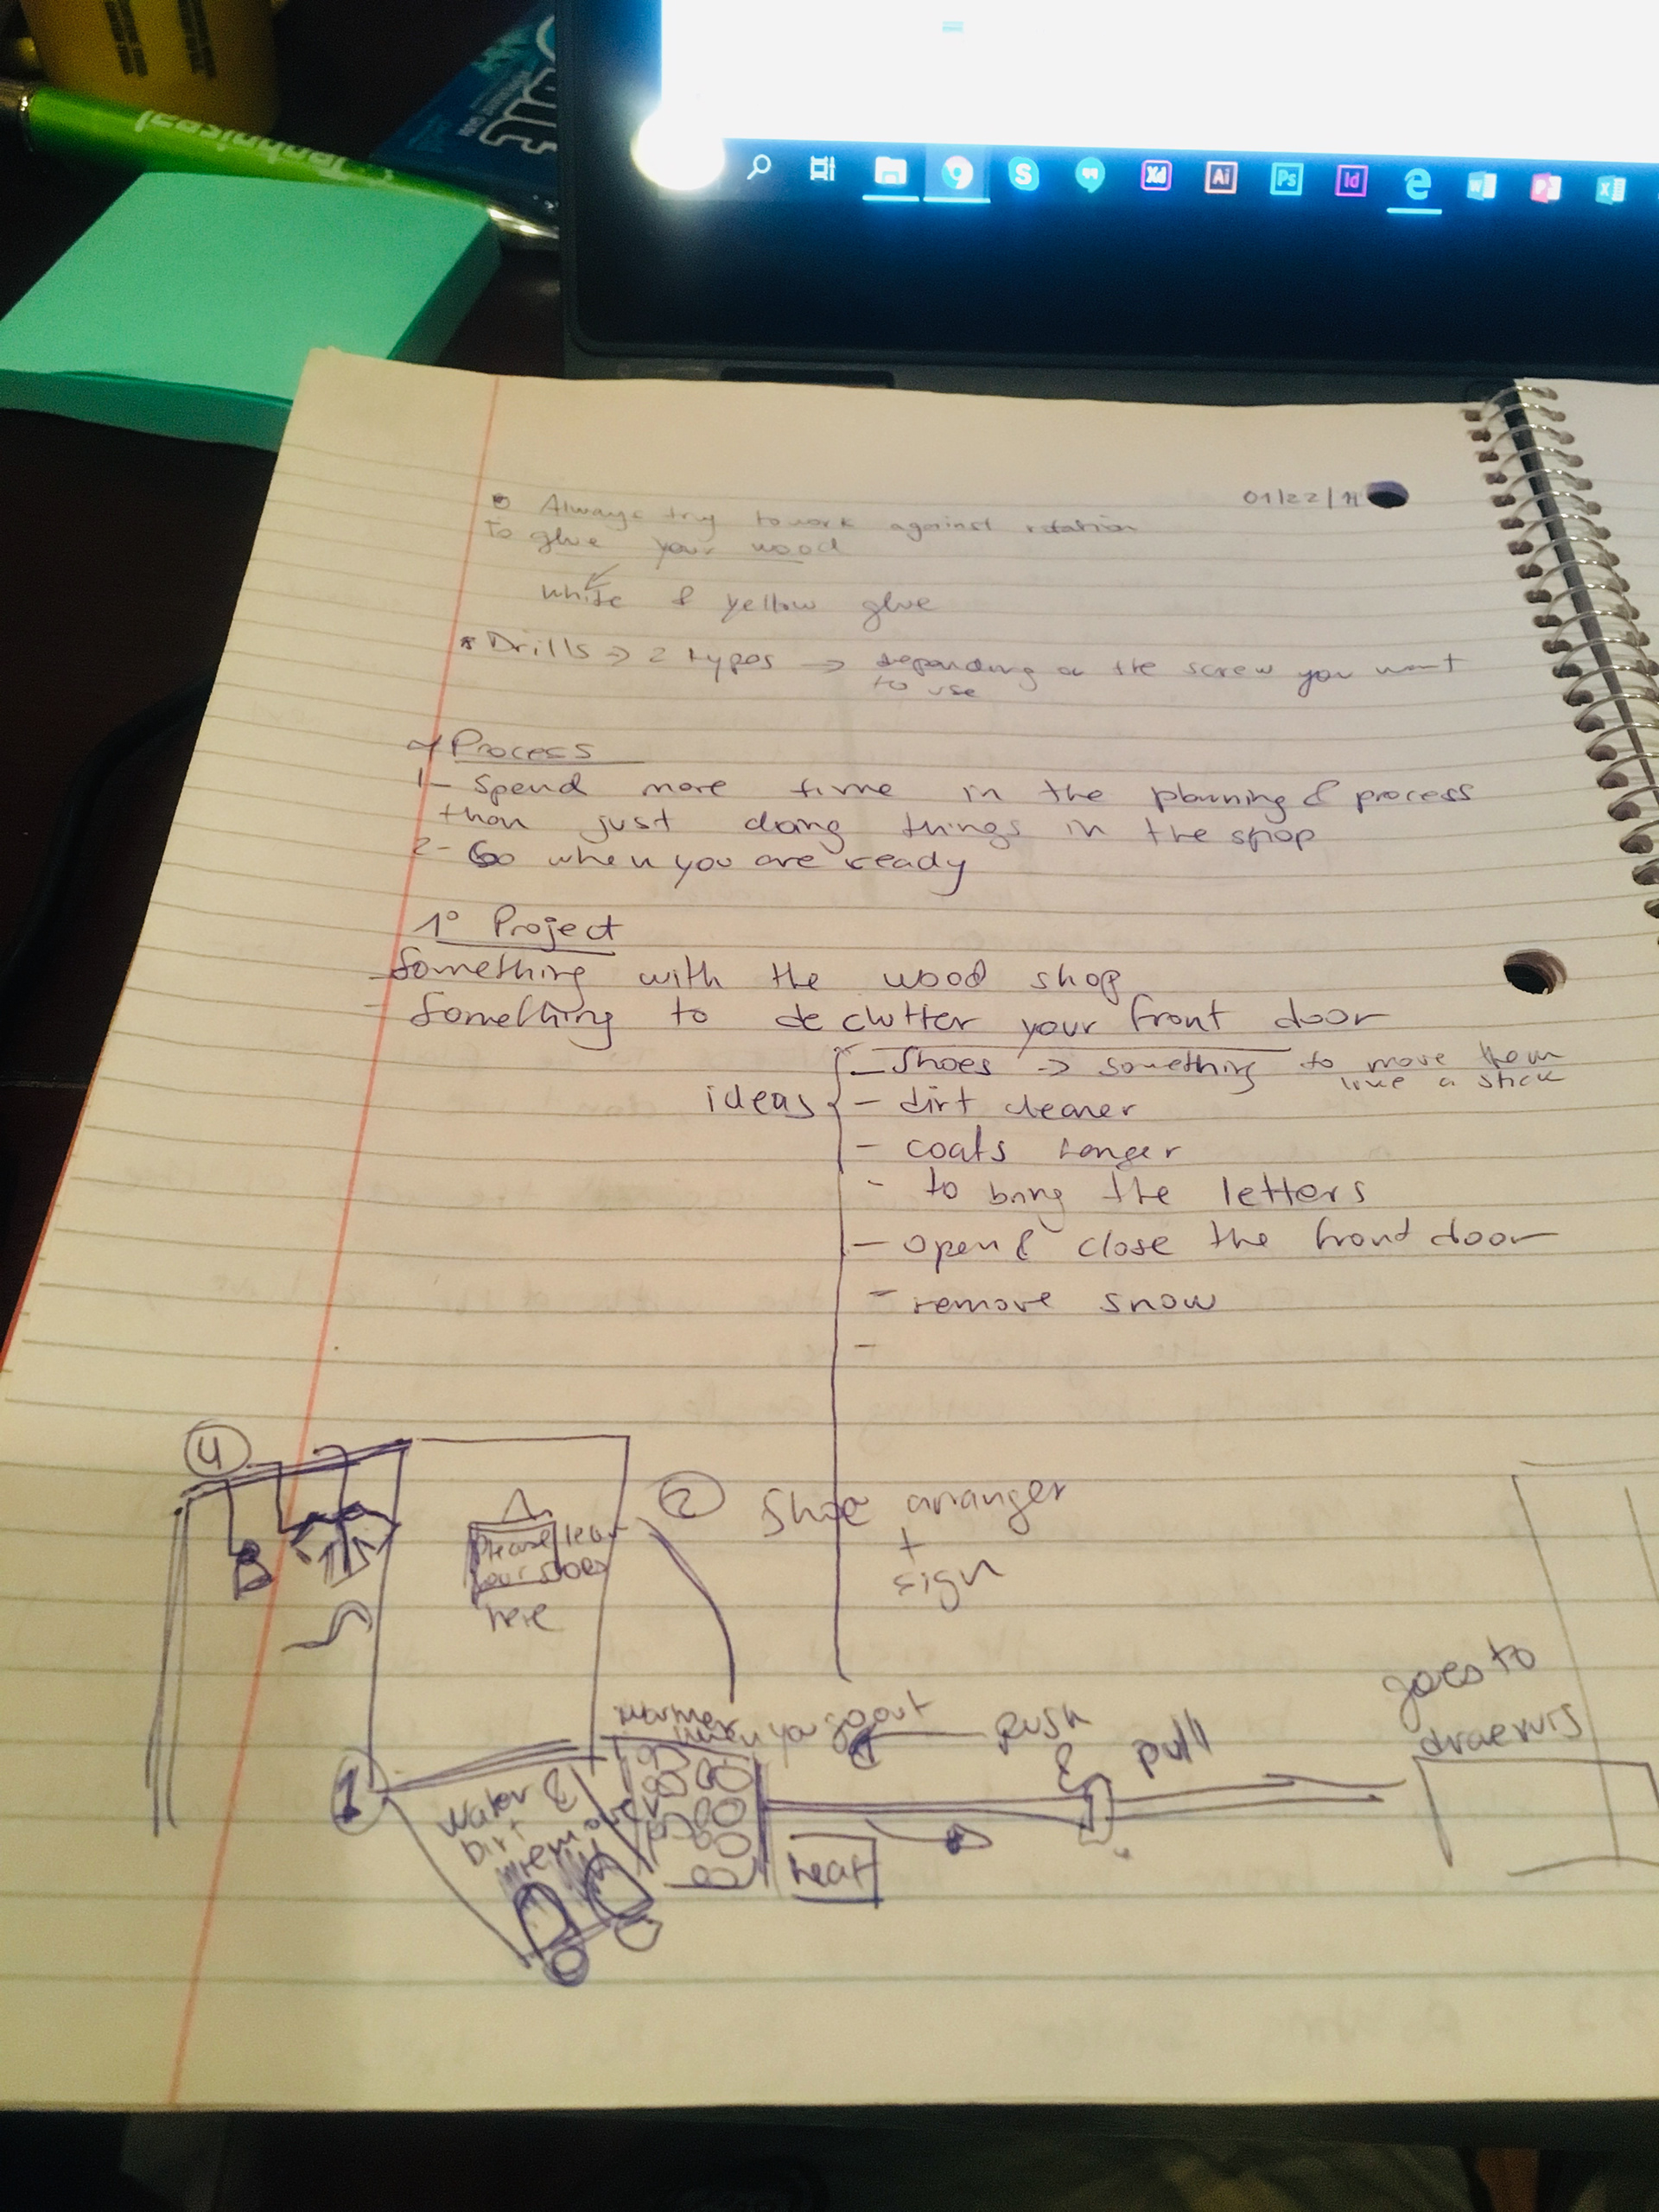
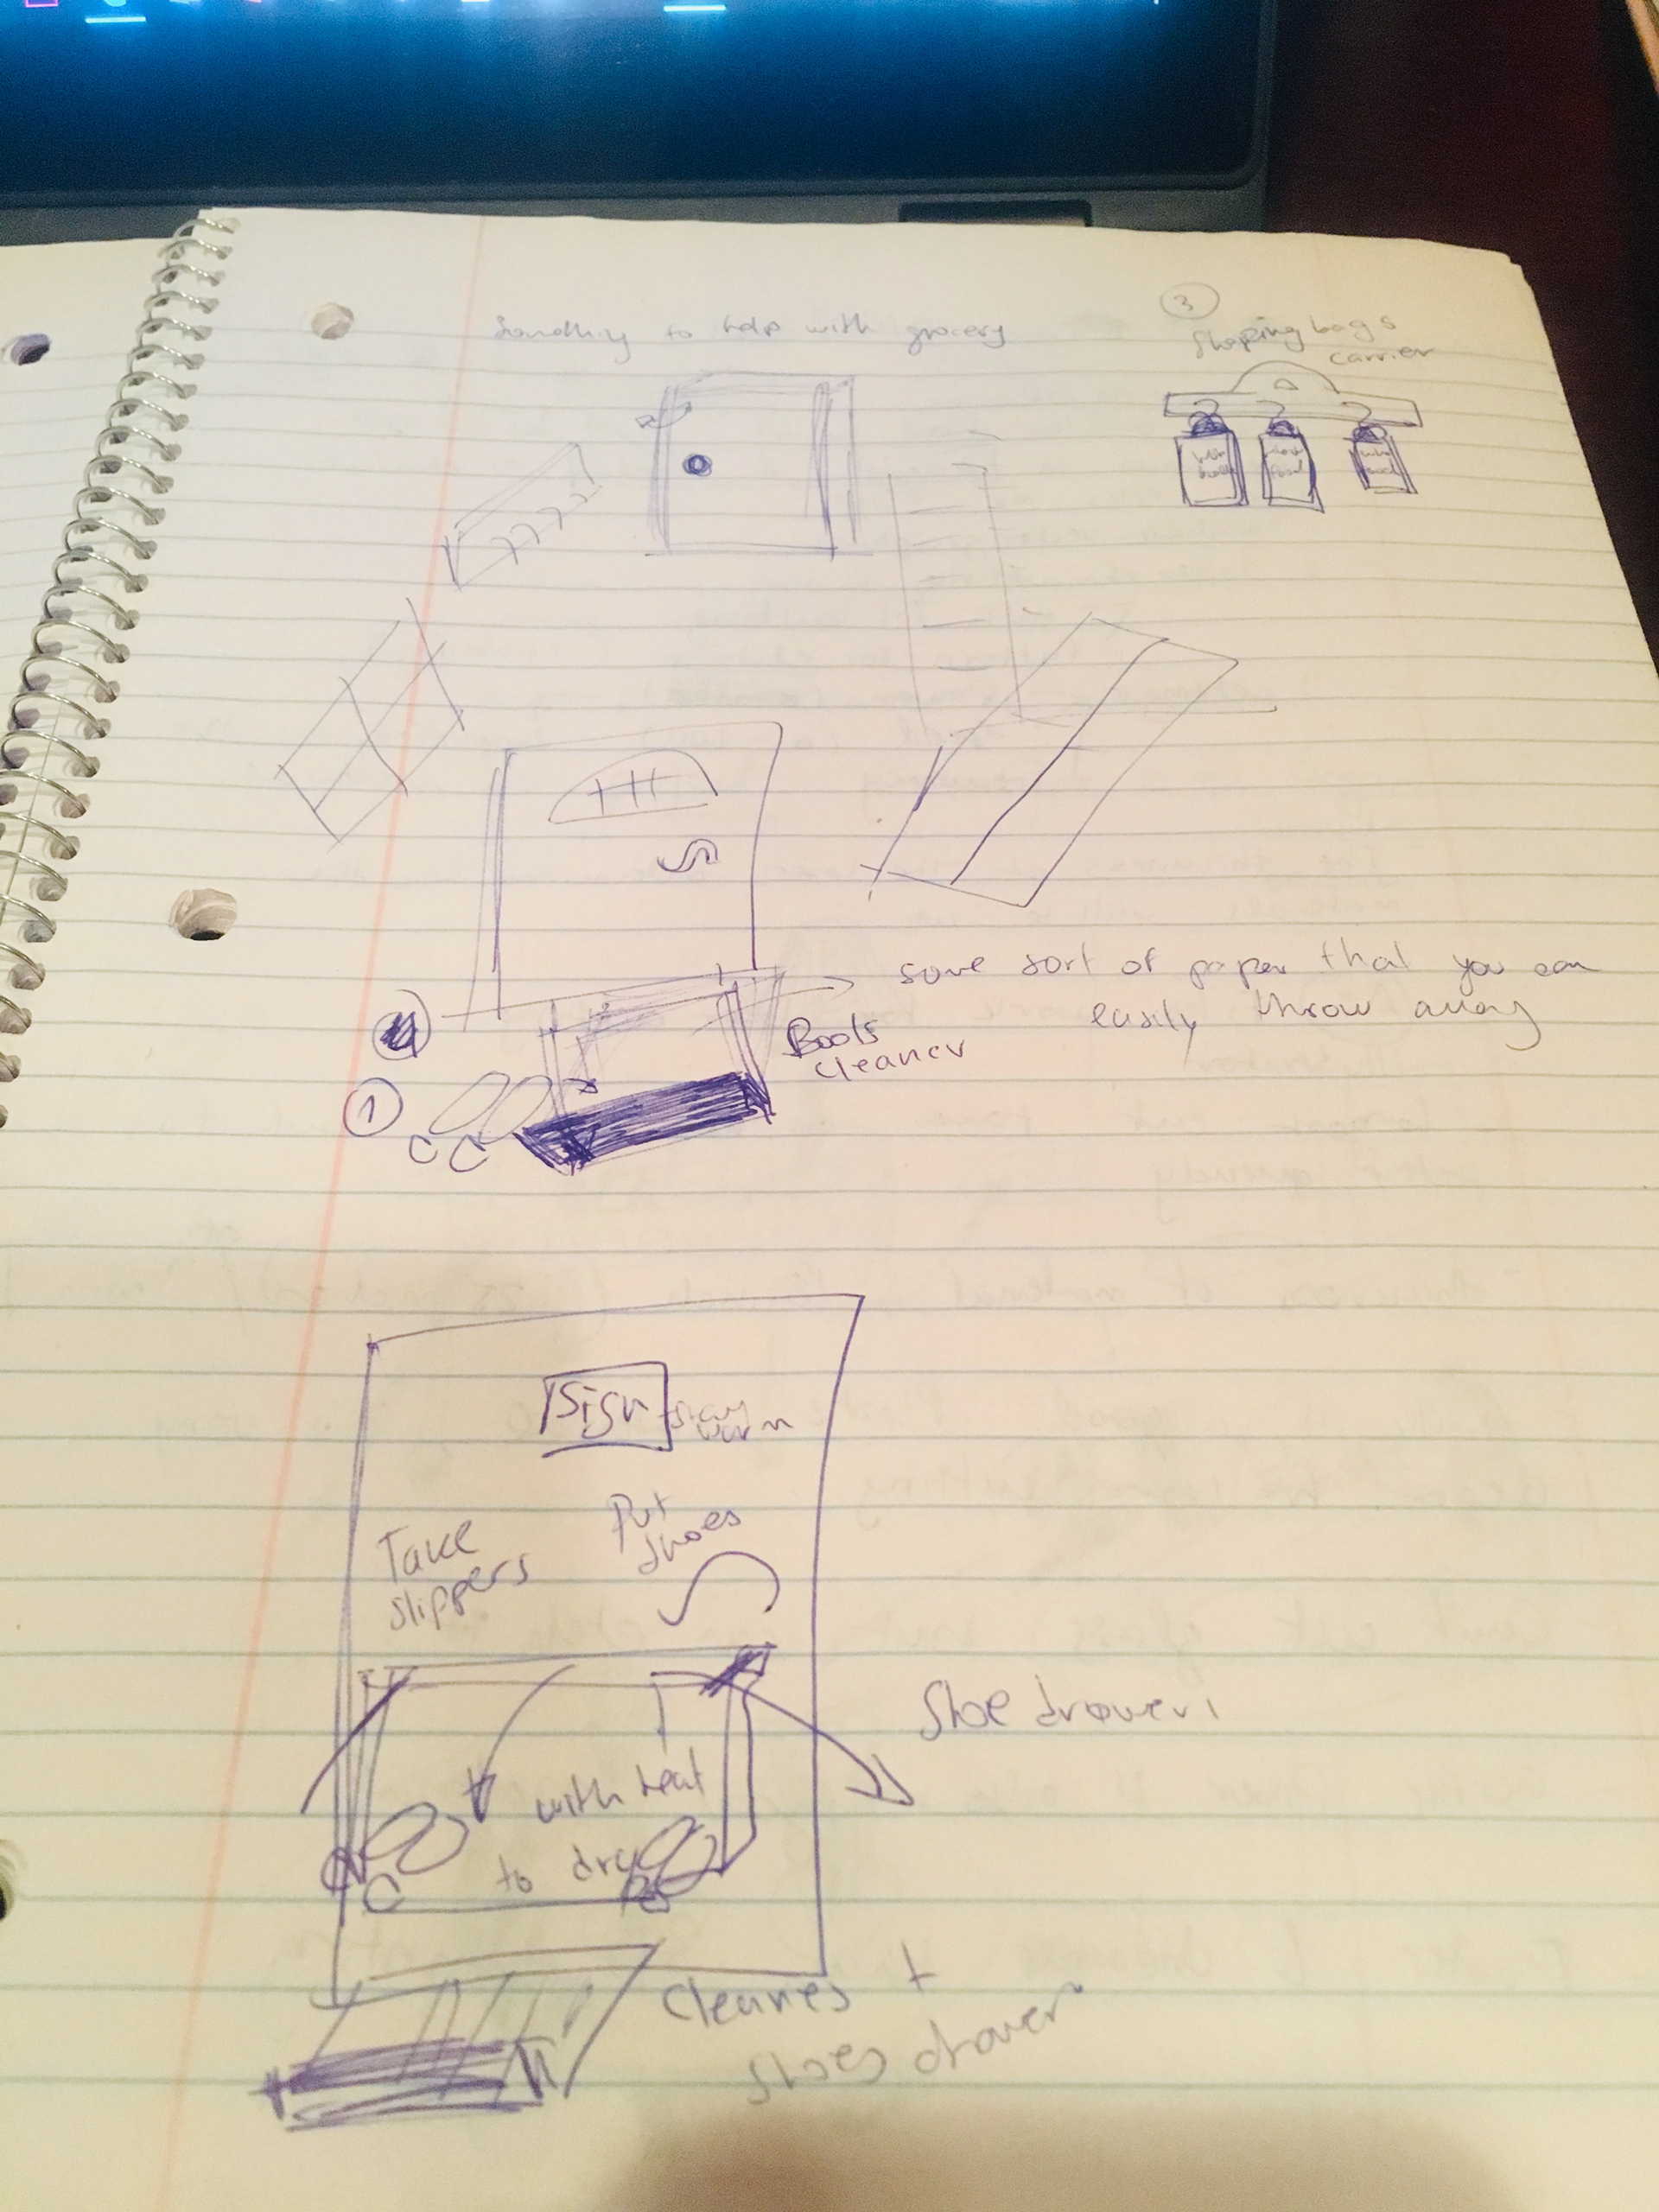
When I was first giving the prompt of “Make something to declutter your front door” I started to visualize my front door and realized it was ok. However, when I thought about the garage door which is the door that I use the most, then I thought about this problem. I started to sketch out some ideas on my notebook, and then started to think about the problems that having a narrow entrance and wet boots can cause. Then I look around the classroom to see if there was something that I could use to make my idea more visual, and I found a wooden box that was my inspiration for the “look like” prototype. I decide I also needed to add something to wipe the shoes like a doormat of some sort.
During this project I learned how to use different tools from the woodshop and how to treat wood. With this prototype I wanted to see if the idea was interesting for other people and if they have experienced the same problem themselves. I was looking to see people’s reactions about the usefulness of the prototype.
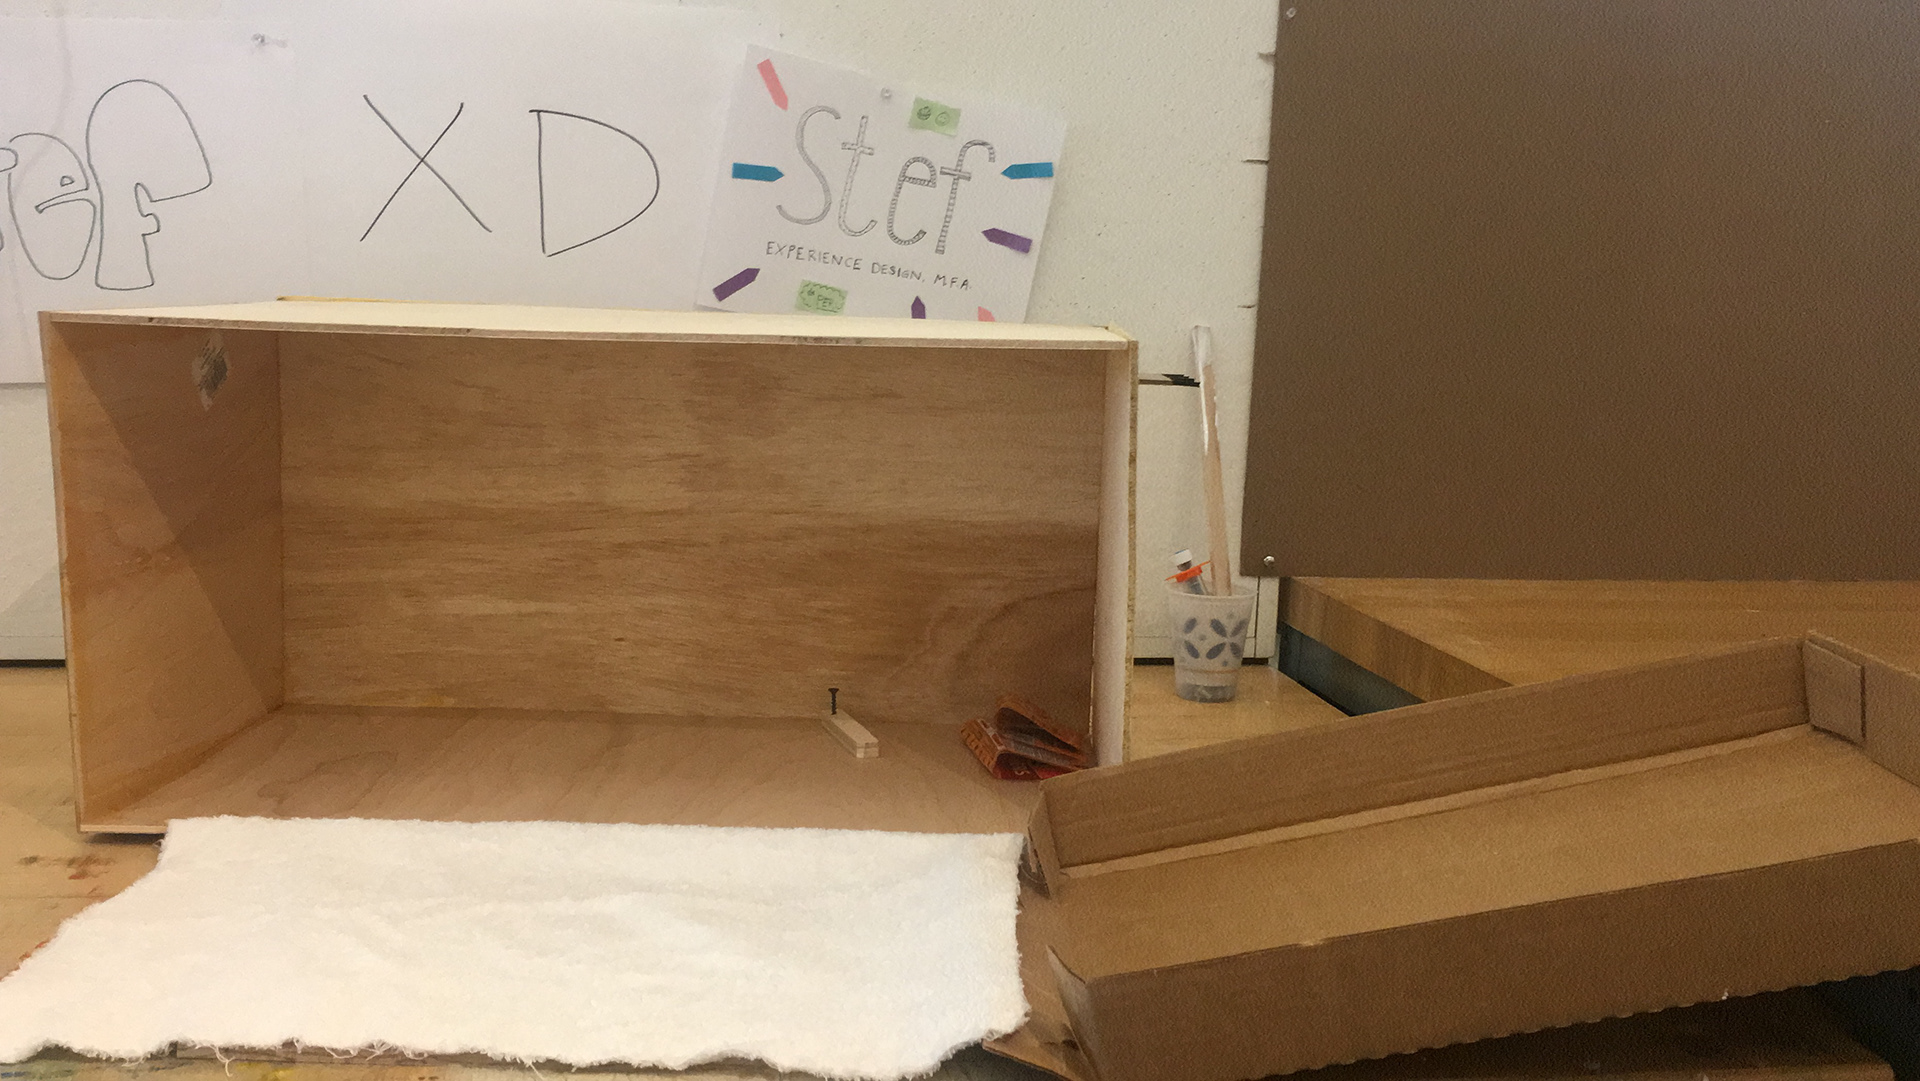
When I first chose the idea of the heating box, I didn’t change the original concept, however, it had add-ons. For example, as I mentioned above, the mat was one of those. Another thing that was added to the original concept was the idea of having some sort of recipient in which we can clean the boots and place dirt, and this recipient is disposable. Another add on was a dented piece on one of the box sides in order to allocate the brush for cleaning the shoes, but also serves as a keyholder, or even umbrella holder.
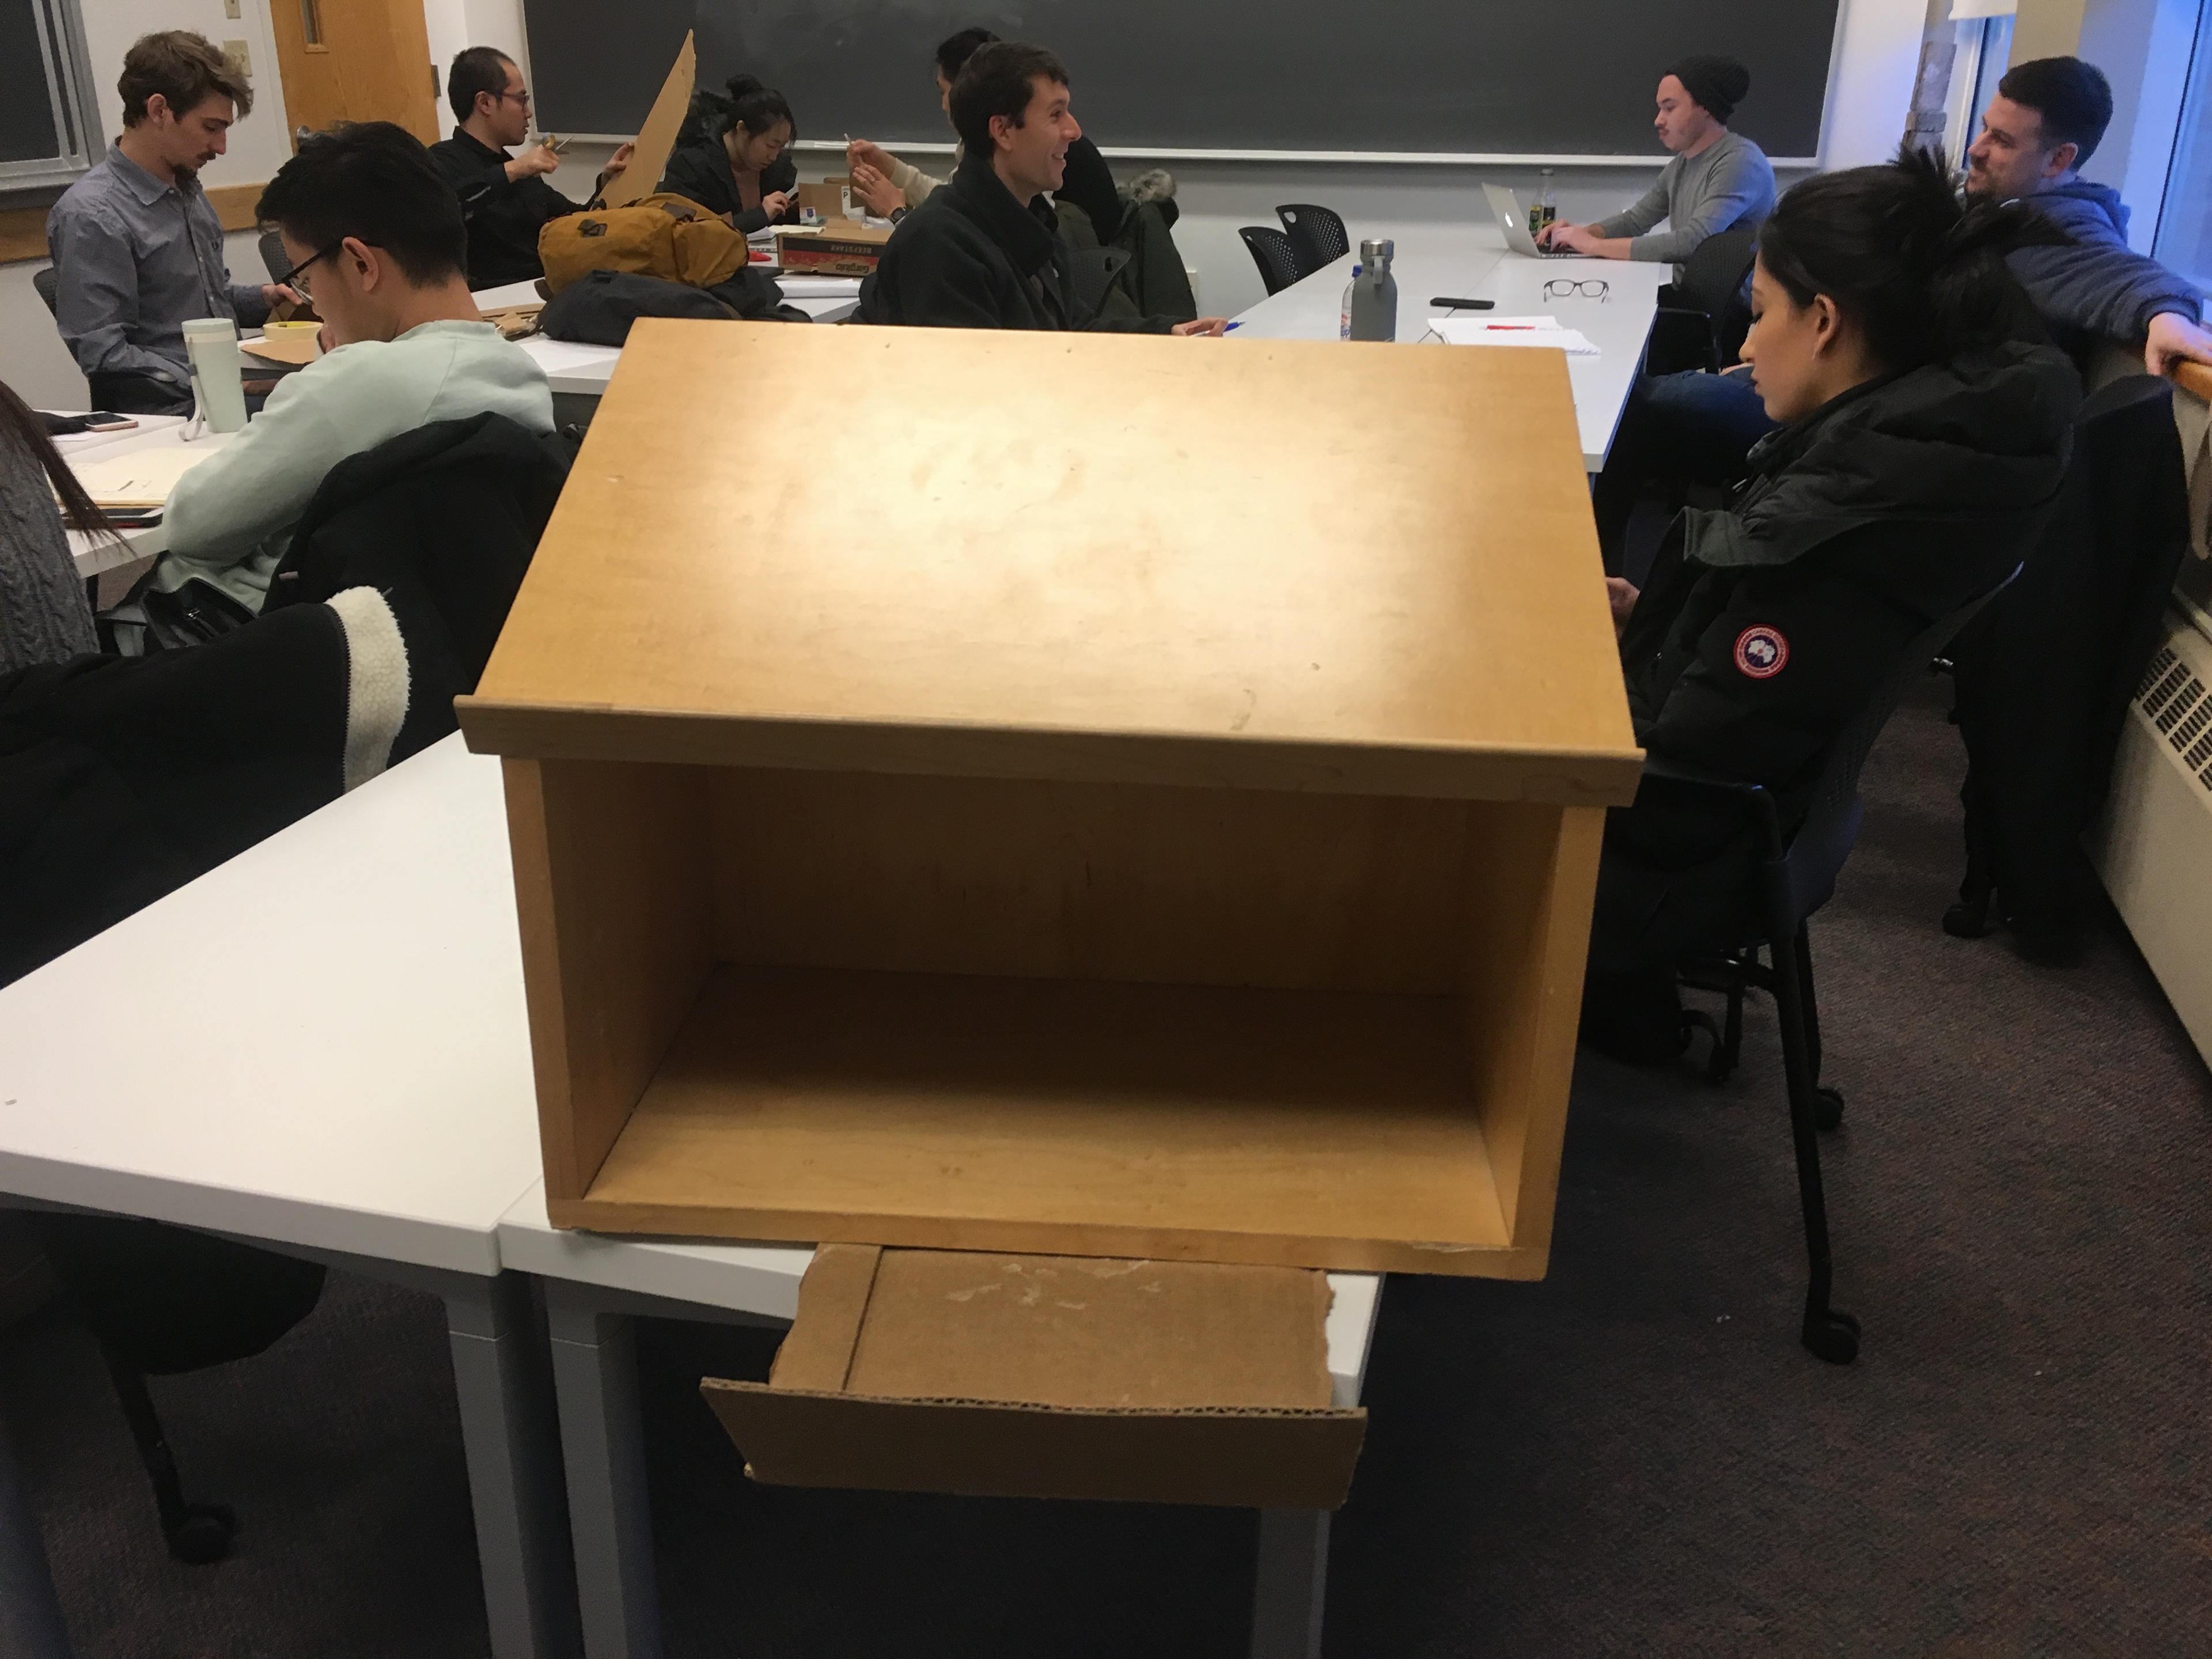
The main issues that I encounter when building this prototype was fear of using the tools, specially the saws (fear that actually goes away when using them). The other main issue was learning how to glue wood and how to actually put the pieces of a box together. It seems pretty easy but it isn't. It took me a long time to realize that the glue takes at least half an hour to actually glue the pieces, which led to another problem: which pieces attach first. Because of this issue I learned to use another tool, the clamps (actually it helped with my vocabulary too) So I decided to ask the monitor and the professor for help to put the pieces together with the clamps. After this teamwork effort, I had to leave the box to glue.


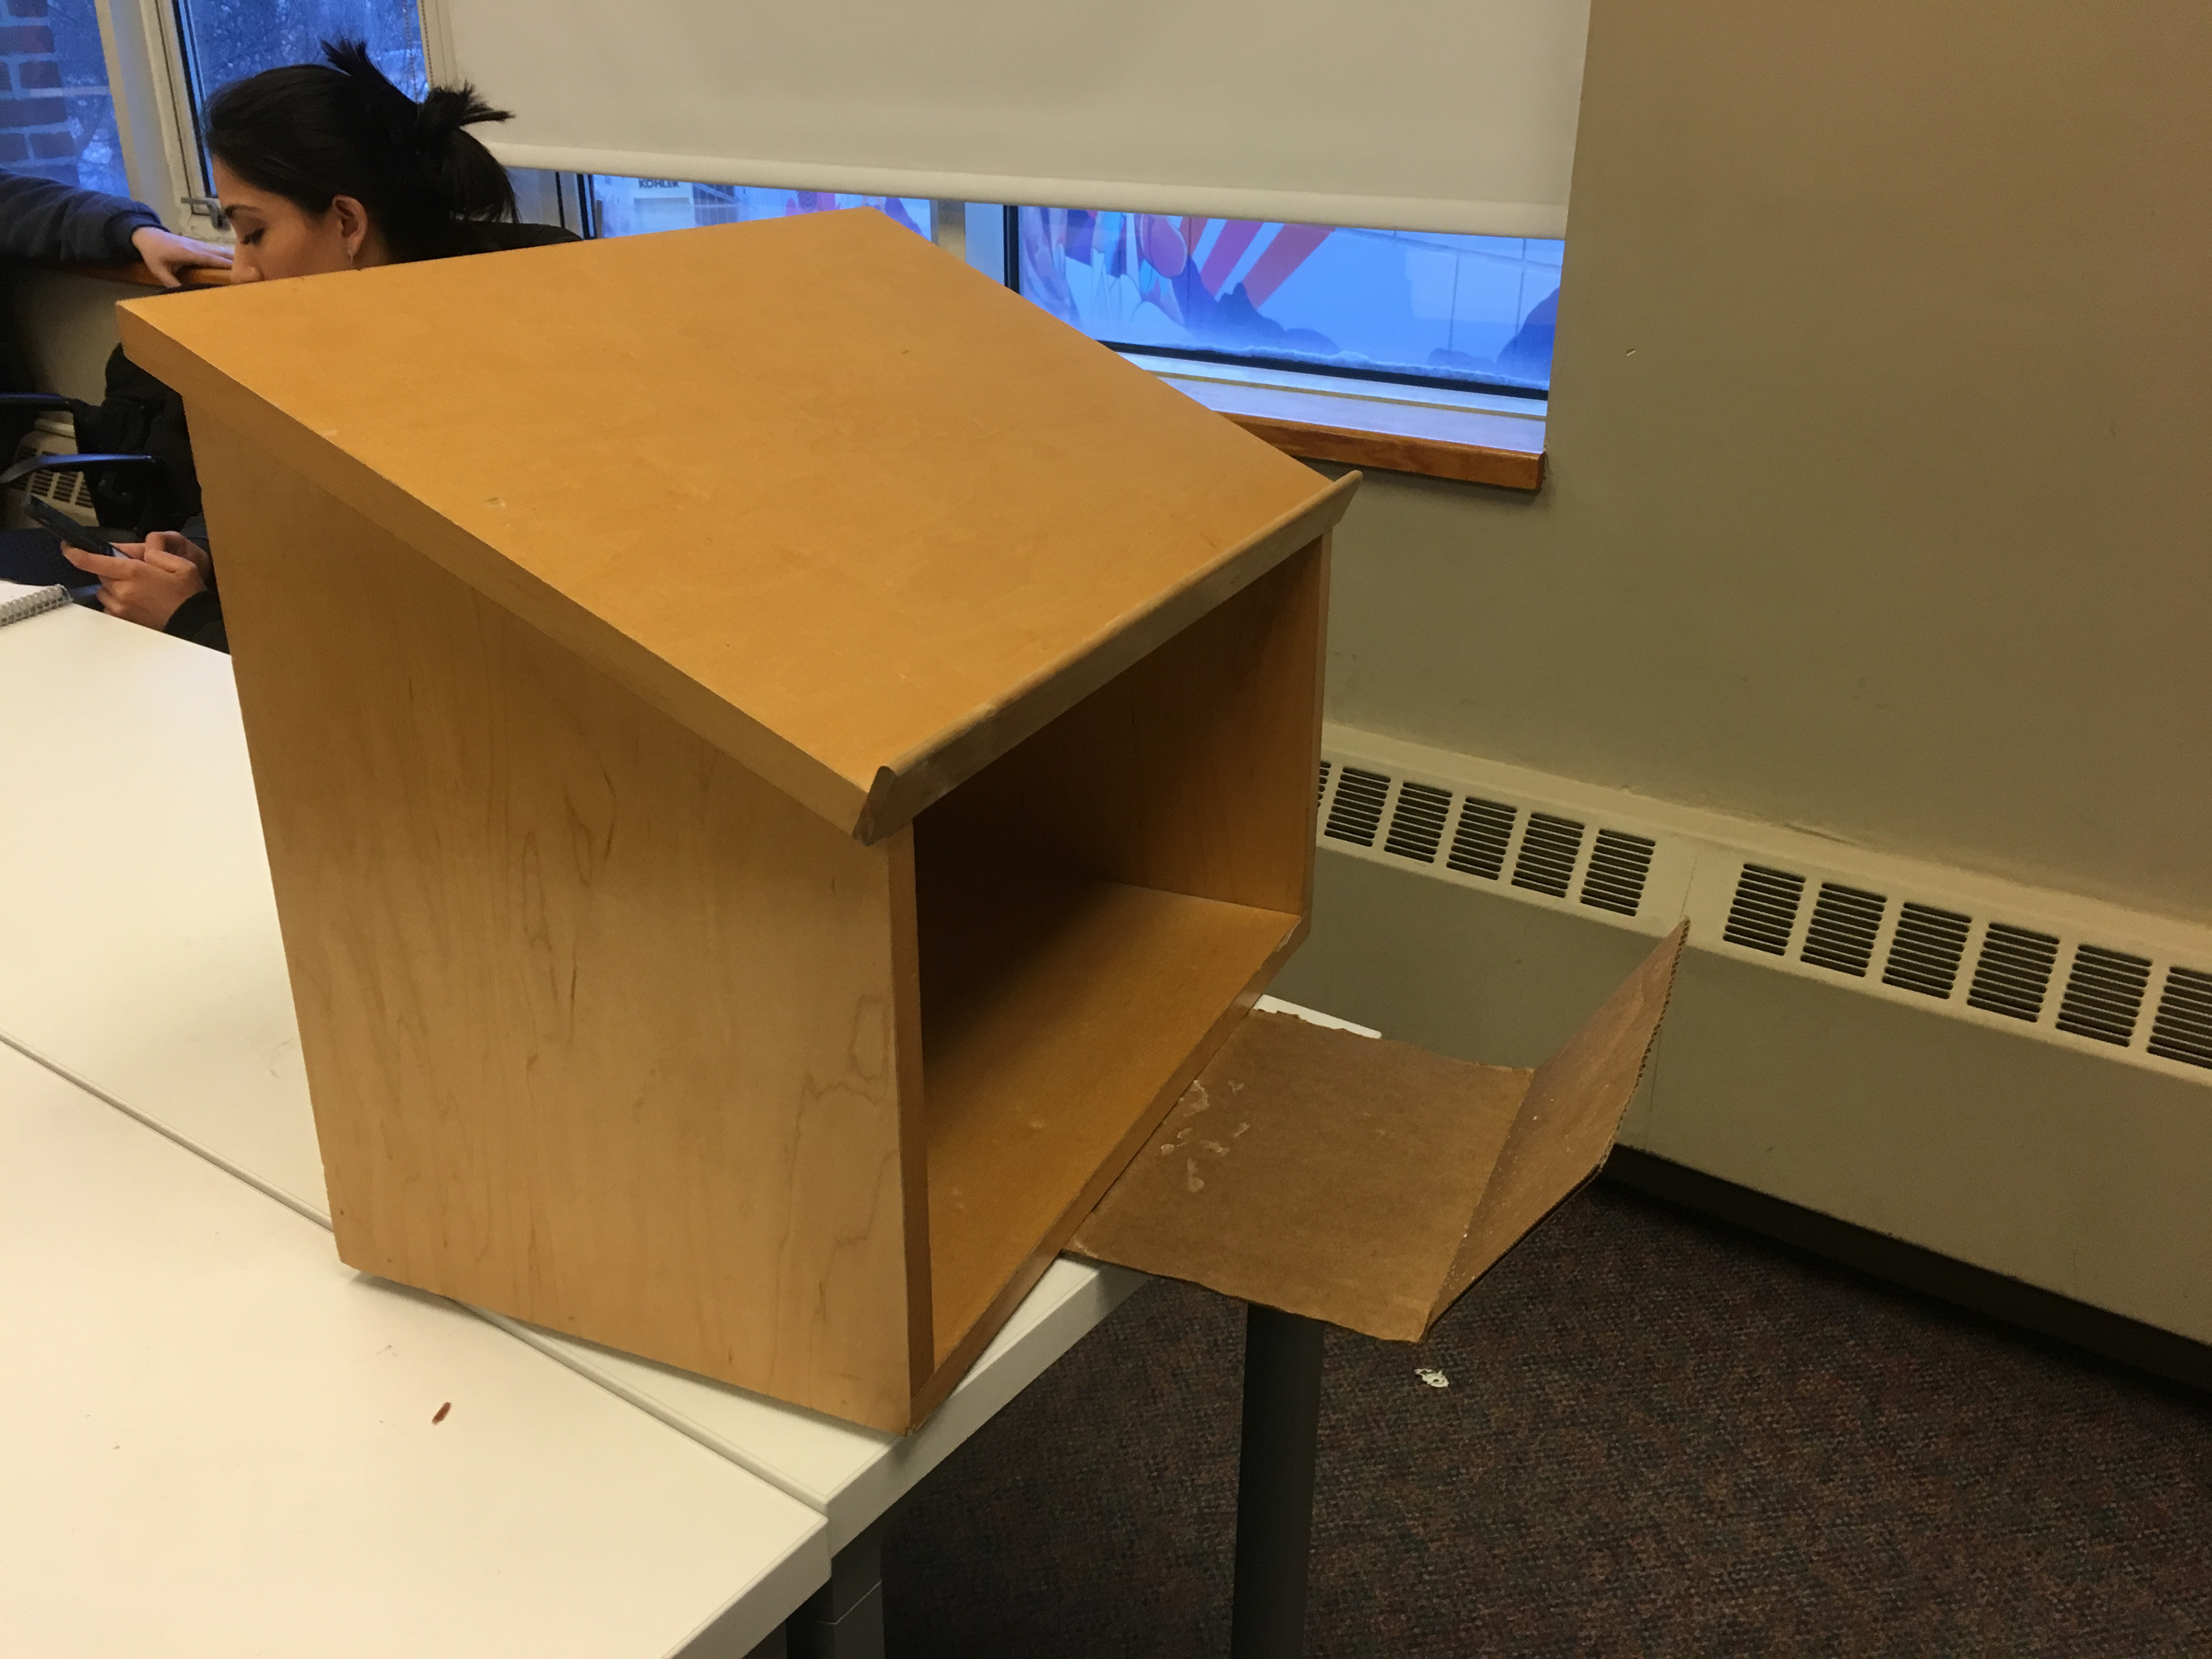
I went to pick up the box after 2 days, and luckily it was a box! However, it was uneven. However, I thought that for a lo-fi prototype it was ok. So I decided to start adding the additional parts: the mat, the hanger and even a shoe divider (in case more people want to place the shoes inside)
Learnings and future iterations
When I presented the prototype, the critique was that the box was a bit big, however, as it is, I could increase the height a bit more and turn it into a box that also allows people to sit while changing the shoes. Another thing that came out of the critique is the usefulness of the dirt recipient. So for further development, I would design another iteration of a higher box and maybe without the dirt recipient (or I would research this further as I still think it is useful)
For future wood prototypes, I would like to improve my measurements and precision when cutting wood in order to make more beautiful prototypes. And of course, the use of clamps would be key if I’m glueing wood. However, I would like to take this design to the next level and maybe learn how to use screws and other type of materials that can turn the “heating box” into a more useful design.